




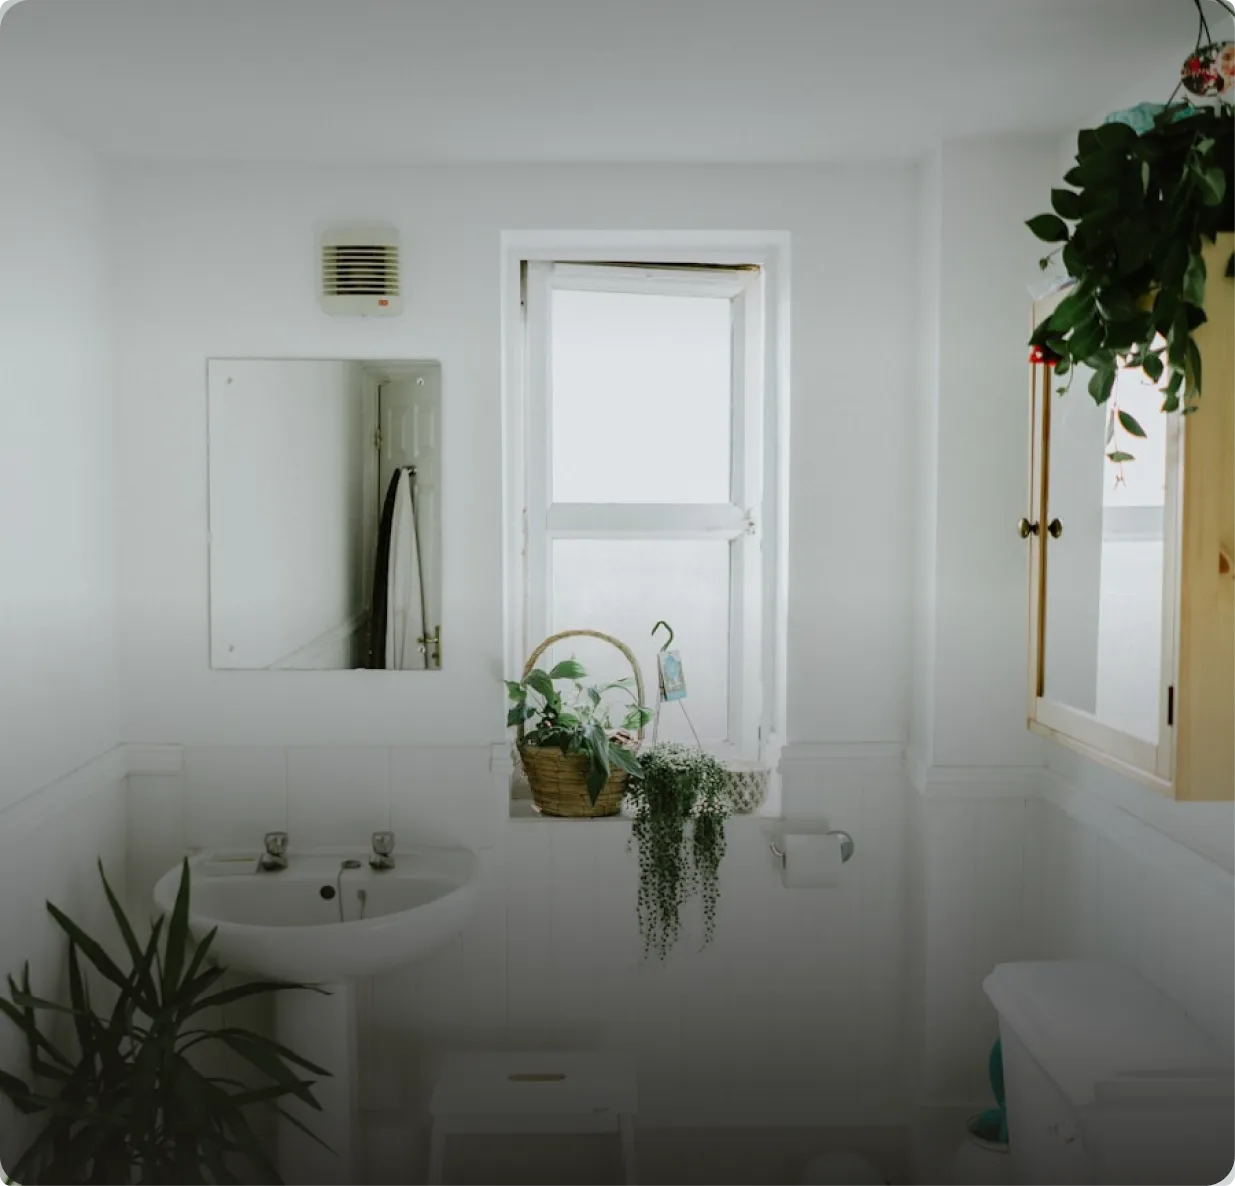
Anyone pricing out a bath remodel Clearwater FL contractors can finish without drama should know the project moves from first consultation to final inspection in a series of predictable stages: planning and selections, permitting, demolition, rough-in work, waterproofing, tile and finishes. The calendar length depends on scope, product lead times and how quickly the local building department turns around permits and inspections. This article lays out each phase in order so you know what to decide, and when, before a single tile comes off the wall.
Phase One: Define What You Actually Need
Start with how the room fails you today. Is the vanity too small for two people getting ready at once? Does the tub go unused while everyone fights over a cramped stall shower? Is mildew creeping across the ceiling every summer? Writing down three or four specific frustrations gives your contractor a far better brief than a stack of inspiration photos alone.
Then decide on scope. A cosmetic refresh keeps fixtures in place and swaps surfaces. A mid-level remodel replaces the vanity, toilet, shower or tub and tile but leaves plumbing where it is. A full reconfiguration moves drains, walls or doorways. Each step up adds trades, inspections and time. If converting a tub to a walk-in shower is on your list, our article on tub to shower conversions explains what typically changes behind the walls.
Phase Two: Lock In Selections Early
The most common cause of delay on bathroom projects is not the construction itself. It is waiting on a decision or a backordered product. Before demolition, finalize:
- Vanity size, style and countertop material, plus sink type and faucet spread.
- Shower configuration: prefab base or tiled pan, glass enclosure or curtain, niche locations, bench or no bench.
- Valve type and trim, including any handheld wand or separate body sprays.
- Tile for floor, walls and shower, with enough overage for cuts and future repairs.
- Lighting, mirror and exhaust fan.
- Accessories such as grab bars, towel warmers or blocking for future additions.
Glass enclosures are typically measured after tile is installed, so they arrive near the end. Custom vanities and specialty tile may take several weeks. Ordering everything before work starts keeps the bathroom out of service for the shortest possible stretch.
Ready to start your project?
Get a free, no-pressure consultation and an honest written quote from a licensed Florida team.
Phase Three: Permits and Coastal Considerations
Work that touches plumbing, electrical or framing generally requires a permit, and your contractor should pull it. In a coastal city like Clearwater, a few extra factors come up during planning.
Some properties sit in designated flood zones. When a home in a flood hazard area undergoes significant renovation, local officials may review whether the work counts as a substantial improvement under floodplain rules, which can bring additional requirements. Not every bathroom project reaches that level, but it is worth asking the building department early if your home is in a flood zone.
Salt air is another factor. Close to the water, exposed metal corrodes faster. Choosing quality finishes on faucets, fan grilles and accessories, and venting the exhaust fan properly to the exterior, helps the new bathroom keep its look longer.
It also helps to think about who uses the bathroom and when. A hall bath shared by children needs durable, easy-clean surfaces and plenty of drawer storage. A primary suite may justify a larger shower, better lighting at the mirror and a vanity with separate sinks. A guest bath that sees occasional use can lean more toward style. Matching material choices to real use keeps the budget where it does the most good, and it prevents paying premium prices for features that sit idle.
Finally, confirm logistics before the start date: where materials will be staged, how the crew will protect floors along the path to the bathroom, which entrance they will use, and whether pets need to be kept away during working hours. Small arrangements like these make the weeks of construction noticeably calmer for everyone in the house.
Phase Four: Demolition and Rough-In
Demolition is usually quick, often a day or two, but it is also when surprises appear. In older homes we frequently find soft subfloor around the toilet flange, leaking shower valves inside the wall, galvanized supply piping, or framing damaged by moisture. These are documented with photos and handled through a written change order before work continues.
Rough plumbing comes next: setting the new shower valve at the right height, relocating drains if the layout changes, and adding blocking for grab bars or a wall-mounted vanity. The electrician adds GFCI-protected circuits, lighting and the fan circuit. Rough inspections happen at this stage, while everything is still visible.
Phase Five: Waterproofing, the Step You Never See
This phase determines whether a shower lasts decades or starts leaking within a few years. A proper wet area assembly includes a correctly sloped shower pan, a continuous waterproof membrane over the pan and walls, sealed seams and corners, and careful treatment around the valve, niche and drain.
- The pan is sloped toward the drain so water never sits in corners.
- Membrane seams overlap or are banded according to the manufacturer's instructions.
- Niches and benches are fully wrapped, since they are common leak points.
- A flood test confirms the pan holds water before tile goes on.
Ask your contractor to show you the waterproofing before tile covers it. A confident installer will be happy to walk you through it.
Humidity control belongs in this phase too. A fan sized for the room and ducted outdoors, ideally on a timer or humidity sensor, protects grout, paint and cabinetry. More on that in our guide to preventing mold in Florida bathrooms.
Phase Six: Tile, Fixtures and Finish Work
Tile installation takes longer than many homeowners expect, especially with large-format tile, intricate patterns or mosaic shower floors. After grout cures, the vanity, countertop, toilet, trim and accessories go in. The glass enclosure is measured and installed last. The final inspection closes the permit, and a walkthrough produces a punch list of small adjustments.
Bath Remodel Clearwater FL Homeowners Can Plan Around: A Quick Checklist
- List the three biggest problems with your current bathroom.
- Decide on scope: refresh, replace, or reconfigure.
- Finalize every selection before demolition.
- Confirm who pulls permits and whether flood zone rules apply to your property.
- Plan for a contingency to cover hidden damage.
- Ask to see the waterproofing and flood test.
- Make sure the fan vents outside.
- Get the workmanship warranty in writing.
If you are thinking about long-term comfort as well, a curbless entry, wider doorway and solid blocking for grab bars are easiest to add during a remodel. Our aging in place bathroom article has ideas that look good while staying practical.
Assured Supreme Contracting is a licensed and insured Florida contractor serving Clearwater and homeowners across the state, with one accountable team handling permits, trades and finishes. When you are ready to plan your bath remodel Clearwater FL project, book a free consultation and we will walk the room with you and prepare an itemized written quote.
Frequently Asked Questions
It depends on scope, product lead times and permit and inspection scheduling. A cosmetic refresh moves fastest. A full renovation with new shower waterproofing and tile takes longer, and reconfigurations that move plumbing or walls take longer still. Finalizing selections before demolition is the best way to shorten the timeline.
Work involving plumbing, electrical or structural changes generally requires a permit from the local building department. Purely cosmetic updates may not. Your contractor should confirm requirements for your specific address and pull any permit in their own name before work starts.
It can. Salt air speeds up corrosion on exposed metal, so quality fixture finishes and corrosion-resistant fan grilles and hardware make sense. Combined with high humidity, it also makes proper ventilation to the exterior especially important for protecting finishes and preventing mildew.
In designated flood hazard areas, floodplain regulations can require additional measures when renovations reach a certain level relative to the home's value. Not every bathroom project triggers this review. If your property is in a flood zone, ask the building department early so it does not surprise you mid-project.
Tile and grout are not waterproof on their own. Water passes through grout and must be stopped by a membrane beneath it. Without a continuous, properly sealed membrane and a sloped pan, moisture reaches framing and subfloor, causing rot, mold and costly repairs hidden behind finished walls.
Glass is usually measured after tile is complete, because exact dimensions depend on the finished walls and curb. Fabrication then takes some time, so the enclosure is often among the last items installed. Planning for that gap avoids frustration near the end of the project.
Common discoveries include soft or rotted subfloor near the toilet, leaking valves inside walls, outdated galvanized supply lines, and moisture-damaged framing. A good contractor documents these with photos and explains repair options and costs through a written change order before proceeding.
Yes. Keeping the toilet, sink and shower drains in their current locations avoids relocating plumbing, which reduces labor and inspection complexity. You can still change nearly every visible surface, from tile and vanity to lighting and fixtures, without moving the plumbing.
The fan should be sized for the room's volume and ducted to the exterior, not into the attic. Quiet models get used more often. Timer or humidity-sensing controls help clear moisture after showers, which protects paint, grout and cabinetry in a humid climate.
Adding blocking inside the walls during a remodel costs little and makes installing grab bars later simple and secure. Many modern grab bars also double as towel bars, so they can be installed now without looking clinical, and they blend in with the rest of the hardware.
Look for tile rated for floors with adequate slip resistance, especially in wet areas. Smaller tiles on a shower floor provide more grout lines for grip and conform to the slope. Porcelain is a common choice because it is dense and resists moisture well.
If you have another bathroom, plan to use it for the duration. If the home has only one, discuss scheduling with your contractor, since some phases can be sequenced to restore toilet use at the end of each day. Clear the room and nearby hallway before work begins.