




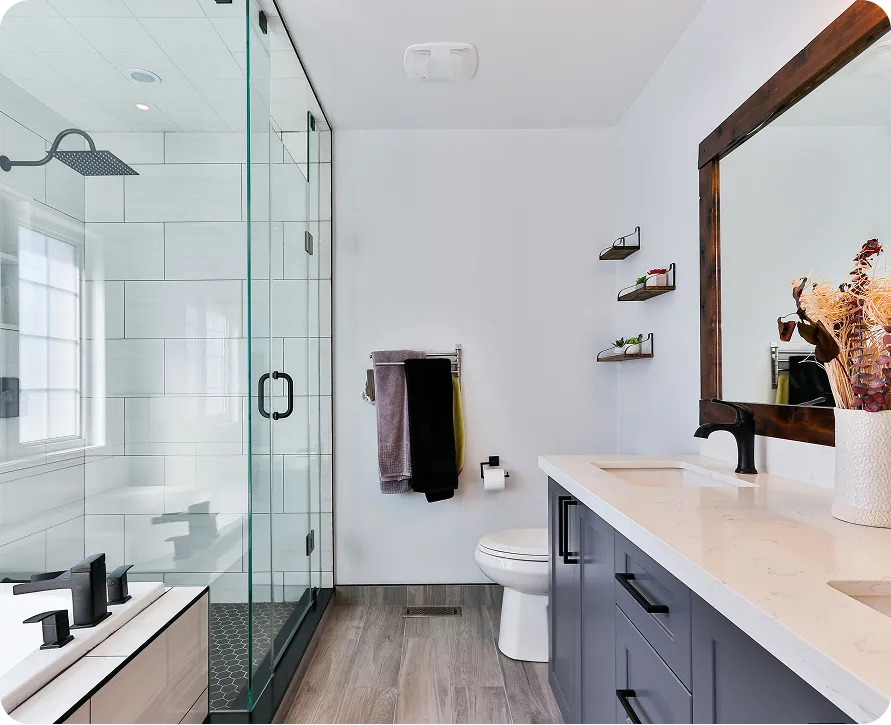
A well-run bathroom remodel in Tampa FL moves through nine phases: consultation and scope, selections and ordering, permitting, protection and demolition, rough plumbing and electrical, framing and backer board, waterproofing with a flood test, tile and finishes, then fixtures, glass and final inspection. Knowing that sequence tells you what should be happening each week, why there are pauses, and which moments deserve a closer look from you. Here is what happens inside each phase, including the parts that are hidden by the time the room is finished.
Phase 1: Consultation and Scope of Work
The project begins with a visit to the bathroom. A contractor measures, checks the condition of the floor and walls, notes where the water heater and electrical panel are, and asks how the room is used. Who showers here? Is a tub still needed? Is storage a problem? Are there mobility considerations now or likely later?
From that visit comes a written scope of work and an itemized quote. Read it closely. It should name the shower system, the waterproofing method, the tile areas, the vanity, the fixtures (or allowances for them), electrical changes, ventilation, permits and cleanup. Vague line items become disagreements later.
Phase 2: Selections and Ordering
Before demolition, choose tile, vanity, countertop, plumbing fixtures, lighting, mirror and hardware. Order anything with a lead time. The shower valve in particular must be on site before rough plumbing, because the valve body is installed inside the wall long before the decorative trim goes on. Choosing the trim later is fine, as long as it matches the valve brand and model.
Phase 3: Permits
Moving plumbing, adding circuits, changing ventilation or altering framing usually requires a permit under the Florida Building Code. The contractor submits the application, and the building department schedules inspections at key points. Those inspections are a benefit to you: an independent check on work that will soon be buried behind tile.
Ready to start your project?
Get a free, no-pressure consultation and an honest written quote from a licensed Florida team.
Phase 4: Protection and Demolition
Crews lay floor protection from the entry to the bathroom, set up dust barriers and shut off water to the room. Then the old fixtures, tile, backer and often drywall come out. This is the moment of truth. Common discoveries include:
- Rotted subfloor around a toilet flange or tub drain on raised floors.
- Corroded galvanized supply lines or scaled cast iron drains.
- Mold behind tile where an old shower liner failed.
- Wiring that is ungrounded or not protected by GFCI.
- An exhaust fan duct ending in the attic instead of outdoors.
Your contractor should show you anything significant and price repairs through a written change order before proceeding.
Phase 5: Rough Plumbing and Electrical
With the room open, the plumber sets the new drain locations, supply lines and shower valve at the correct height, along with any body sprays or a handheld bar. On a slab, relocating a drain means saw-cutting the floor and setting pipe with proper fall. The electrician installs boxes for vanity lights, recessed lighting, outlets, the exhaust fan and any heated floor thermostat.
The rough-in inspection happens here, before walls close. Passing it is the signal that the room can move forward.
Phase 6: Framing, Blocking and Backer Board
Framing is adjusted for niches, benches and any changed openings. This is also when wood blocking goes into the walls behind future grab bar locations, the vanity, a wall-mounted toilet paper holder and the glass door hinges. Blocking costs almost nothing now and avoids hunting for studs later. Our article on aging-in-place bathroom design explains where grab bars typically go.
Cement board or foam backer panels go on in wet areas, moisture-resistant drywall elsewhere. The shower curb is built, and the floor is prepared for the pan.
Phase 7: Waterproofing and the Flood Test in a Bathroom Remodel in Tampa FL
This phase protects everything else. The shower floor is formed with a consistent slope to drain, then a waterproof membrane is applied across the pan and up the walls, with seams overlapped, inside corners reinforced and pipe penetrations sealed with the manufacturer's collars or sealant. Niches and benches get the same treatment on every surface.
Then comes the flood test: the drain is plugged and the pan filled with water, left for a period, and checked for any drop in level or moisture below. Ask to see the test or a photo of it. If the membrane passes, tile can begin. If not, the fix happens now, when it is easy.
Phase 8: Tile, Vanity and Paint
Tile setters lay out the walls and floor so cuts land in sensible places, typically starting from a centerline or a focal wall. Floor tile follows the pan's slope. Grout is applied and, depending on the type, sealed. Outside the shower, drywall is finished and painted with a moisture-resistant product. The vanity is set, leveled and fastened, and the countertop is installed.
A properly sized exhaust fan ducted to the exterior is installed or connected now. Good ventilation is a major defense against the mildew that Florida humidity encourages, as covered in our article on how to prevent mold in Florida bathrooms.
Phase 9: Fixtures, Glass and Final Inspection
The toilet, faucets, shower trim, mirror, lights and accessories go in. Glass is measured after tile, so the enclosure is usually among the last items installed. The final inspection confirms plumbing, electrical and ventilation are complete and to code. Afterward, walk the room with your project lead, run every fixture, test the fan, and note any touch-ups on a punch list.
Why the Job Sometimes Looks Idle
Homeowners occasionally worry when a day or two passes with no one on site. Usually the pause is built into the process rather than a sign of trouble. Common reasons include:
- Waiting on inspection. Rough-in must be approved before walls close, and inspection slots are set by the building department.
- Cure times. Mortar beds, liquid membranes, thinset and grout each need time before the next layer goes on. Rushing them weakens the assembly.
- The flood test itself. The pan has to hold water long enough to prove it is sound.
- Glass fabrication. The enclosure cannot be built until finished tile is measured.
A good project lead will tell you in advance when these waits are coming, so a quiet day is expected rather than alarming. If you are unsure why nothing is happening, ask; a clear answer is part of the service.
Phases 5 through 7 happen behind the walls, yet they decide whether the bathroom lasts. Ask to see rough-in, blocking and the flood test before tile goes up.
Assured Supreme Contracting is a licensed and insured Florida contractor serving Tampa and the rest of Florida. We pull the permits, manage every phase as one accountable team and provide a workmanship warranty on the finished room. Visit our bathroom remodeling services page, then book a free consultation to receive an itemized written quote for your bathroom remodel in Tampa FL.
Frequently Asked Questions
Blocking is solid lumber installed between studs to give a firm anchor point for things mounted on the wall, such as grab bars, glass door hinges, towel bars and wall-hung vanities. Adding it while walls are open costs very little. Without it, future installations rely on finding studs in the wrong places or using weaker anchors.
The valve body is installed inside the wall during rough plumbing, before backer board and tile. The visible trim attaches later and must be compatible with that valve. If you change your mind about the fixture brand after tile is up, swapping the valve means opening finished walls, which is expensive and disruptive.
Ask your contractor to show you the condition of the subfloor, framing, pipes and wiring once the room is open. This is when hidden damage becomes visible. Take photos for your records. Agree on any repairs and their cost in writing before the crew moves on to rough plumbing and electrical.
Generally not. Water is shut off to the room for much of the project, and the toilet is removed early in demolition. If it is the only bathroom in the house, discuss temporary options with your contractor, such as keeping the toilet functional for as long as possible or scheduling a short reinstall.
Cement board is heavy, durable and inexpensive but not waterproof on its own, so it needs a membrane over it. Foam boards are lightweight, easy to cut and often waterproof when seams are sealed according to the manufacturer. Both are valid when installed as part of a complete system.
Cement-based grout is porous and benefits from sealing to resist staining and moisture absorption, with periodic resealing over time. Epoxy and some urethane grouts do not need sealing and resist stains well, though they cost more and take more skill to install. Ask which grout your contractor recommends for the shower.
A mortar bed or a preformed sloped tray is installed beneath the membrane, rising from the drain toward the walls at a consistent pitch, commonly about a quarter inch per foot. With a linear drain, the floor slopes in one direction. The slope ensures water moves to the drain instead of pooling in corners.
The inspector confirms that permitted plumbing, electrical and mechanical work is complete and meets code. That includes GFCI protection, properly installed fixtures, working ventilation ducted to the exterior and any required clearances. Passing the final inspection closes the permit, which matters for resale and insurance records.
It is possible but usually avoided. Exterior walls often contain insulation and, in block homes, solid masonry, so recessing a niche can compromise insulation or require cutting block. Interior walls are the easier choice. If an exterior wall is the only option, the contractor must address insulation and waterproofing carefully.
It depends on the grout and setting materials used. Many products need a curing period before heavy water exposure, and some sealers require additional drying time. Your contractor should tell you when the shower is ready. Using it too early can weaken grout and cause discoloration.
Electric radiant floor heating uses thin heating mats or cables embedded under tile, controlled by a thermostat. Depending on size, it may need a dedicated circuit with GFCI protection. It must be planned before tile installation, since the heating element sits in the thinset or a leveling layer.
Usually the glass fabricator measures after tile is installed, since the final dimensions depend on finished walls, the curb and any out-of-plumb surfaces. Fabrication follows measurement, so glass installation is typically one of the final steps. A temporary curtain can be used if you need the shower sooner.