




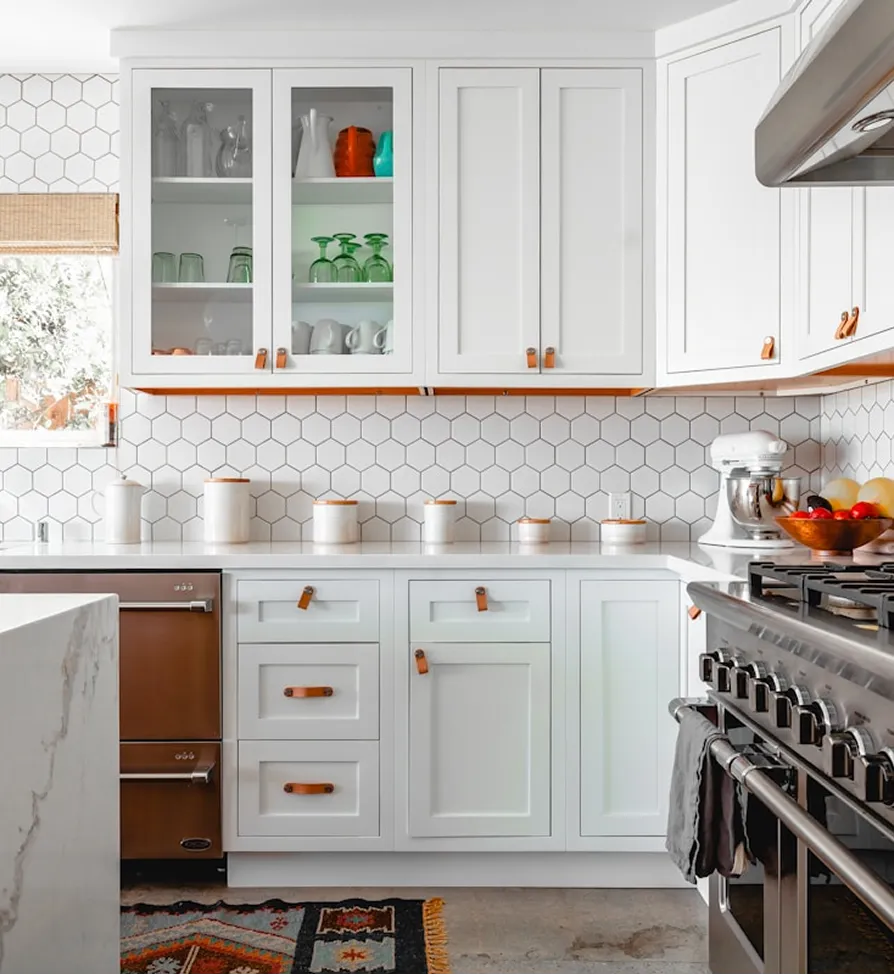
Hiring a cabinet installation company Land O' Lakes FL homeowners can rely on comes down to one thing: how the crew handles the parts of the job you never see once the doors are on. Level bases, secure fastening into studs, tight scribes against uneven walls and correct clearances for appliances decide whether a kitchen looks sharp for years or starts sagging and gapping within a few seasons. Here is what a careful installation looks like, step by step.
Before the Boxes Arrive
Good installs start weeks before delivery. The installer should field-measure the room after any demolition, not rely on an old floor plan or the measurements from a big-box store order. Walls in many homes are not perfectly straight or plumb, floors dip, and window casings and soffits can sit a fraction off where a drawing says they are. Those small differences determine whether a filler strip is needed at the end of a run or whether a tall pantry will fit under the ceiling.
This is also when lead times get confirmed. Stock lines may be available quickly, while semi-custom and custom orders can take considerably longer. If you are still deciding between those categories, our comparison of custom vs semi-custom cabinets lays out the tradeoffs in construction, sizing flexibility and wait time.
- Confirm appliance model numbers and their cut-out dimensions before the order is placed.
- Check where plumbing supply lines, drains and electrical boxes sit relative to the new layout.
- Decide on hardware early so drilling templates are ready on install day.
- Plan a staging area in a garage or spare room, out of the sun and away from moisture.
Acclimation and Damage Inspection
When cabinets arrive, every box should be opened and inspected before installation begins. Scuffed finishes, cracked face frames, wrong door styles and missing shelves are far easier to resolve with the supplier before anything is fastened to a wall. A reputable crew documents damage with photos and flags it immediately rather than installing a damaged piece and hoping nobody notices.
Wood products respond to Florida humidity. Leaving cabinets in a conditioned space for a short period lets them adjust to the indoor environment they will live in. That matters most for solid wood doors and panels, which can move slightly as moisture content changes.
Ready to start your project?
Get a free, no-pressure consultation and an honest written quote from a licensed Florida team.
Setting the Layout Lines
The first real work on install day is finding the high point of the floor. Every base cabinet is set relative to that point, because a cabinet can be shimmed up but cannot be lowered into the floor. From there the installer snaps a level line for the top of the bases and another for the bottom of the wall cabinets, then marks every stud location along the wall.
Skipping this step is the most common reason countertops end up out of level or uppers look wavy from across the room. A laser level or long straightedge makes the work faster, but the principle is the same: establish reference lines first, then hang cabinets to the lines, not to the floor or ceiling.
Hanging Uppers and Setting Bases
Many installers hang the wall cabinets first, since there are no bases in the way and they can work close to the wall. A temporary ledger board screwed along the level line supports each box while it is fastened. Cabinets go up through the hanging rail into studs with cabinet screws, never with drywall screws or nails, which lack the shear strength to hold a loaded cabinet of dishes.
Base cabinets follow, starting from a corner or a fixed point such as the sink. Each box is shimmed until it is level front to back and side to side, then the face frames of neighboring cabinets are clamped flush and screwed together. On frameless European-style boxes, the cases are joined through the sides with connector screws instead.
- Shims: tapered wood or composite wedges placed at fastening points so screws do not pull the box out of square.
- Scribing: trimming a filler or end panel to match an irregular wall so no gap shows.
- Overlay check: confirming doors cover the face frame evenly, whether full overlay or partial overlay.
- Reveals: keeping consistent spacing between doors and drawers along the entire run.
Level and secure bases are what the countertop fabricator measures from. Any shortcut in shimming or fastening shows up later as a cracked seam or a counter that rocks.
Vetting a Cabinet Installation Company Land O' Lakes FL Residents Trust
Ask to see the crew's approach, not just their photos. Questions worth asking include who field-measures, who handles damaged deliveries, whether they coordinate the countertop template, and whether plumbing and electrical reconnections are done by licensed trades. Also confirm the company's license on the Florida DBPR lookup and ask for current insurance certificates. Our article on why hiring a licensed contractor matters explains why that coverage protects you when someone is working inside your home.
Pay attention to how the quote is written. A vague line that says "install cabinets" leaves room for disputes about fillers, crown molding, light rail, toe kicks, end panels and hardware. An itemized scope spells each of those out.
Finishing Details and Adjustments
After the boxes are secure, the trim work begins: toe kicks, end panels, crown molding at the ceiling or top of the uppers, and light rail under the wall cabinets. Doors and drawer fronts are installed or adjusted so the reveals line up and soft-close hinges and slides operate smoothly. Hardware is drilled with a template so every knob and pull sits at the same position.
Countertop templating usually happens once the bases are installed and fully secured. Stone fabricators need the cabinets in their final position to cut accurately, so any changes after templating can delay the counters. After countertops are set, the plumber reconnects the sink and dishwasher, and the electrician completes any under-cabinet lighting.
What to Check at the Final Walkthrough
- Every door and drawer opens fully, closes quietly and aligns with its neighbors.
- No visible gaps between cabinets and walls, and fillers are scribed cleanly.
- Appliances slide in with proper clearance and doors swing without hitting handles.
- Interior shelves are present, level and supported on all pins.
- Touch-up is done on any scuffs, and all packaging and debris is removed.
For a broader look at what happens before and after installation day, read our overview of kitchen cabinet installation. Assured Supreme Contracting is a licensed and insured Florida contractor serving Land O' Lakes and homeowners across Florida, with one accountable team handling the project from measurement to final adjustment. If you are looking for a cabinet installation company Land O' Lakes FL families can count on, schedule a free in-home consultation and get an itemized written quote.
Frequently Asked Questions
Installation of the boxes themselves often takes a few days for an average kitchen, but the full process includes measuring, ordering, delivery, countertop templating and fabrication, and final plumbing and electrical connections. Larger kitchens, custom pieces, crown molding and island builds extend the timeline. Your contractor should provide a schedule once the cabinet order is confirmed.
It depends on the flooring. Many installers prefer to put tile or hardwood under the cabinets so future layout changes are easier, while floating floors are often installed after cabinets so they can expand and contract freely. Either way, the decision affects cabinet height and appliance clearances, so settle it before ordering.
Full overlay doors cover nearly the entire face frame, leaving only small gaps between doors for a clean, modern look. Partial overlay doors leave more of the frame visible around each door. Full overlay requires more precise installation because the reveals are tight, and any misalignment is more noticeable.
Yes. Installers use shims behind the hanging rail to keep cabinets plumb against a wall that bows, and they scribe fillers and end panels to follow the wall's contour so no gaps show. Severe irregularities may call for some drywall correction first, which the contractor should identify during the field measurement.
Replacing cabinets in the same location may not require a permit on its own, but associated plumbing, electrical or structural changes often do. Requirements vary by jurisdiction. A licensed contractor will determine what your project needs under the Florida Building Code and pull permits when they are required.
Common causes include cabinets that were not fastened securely into studs, boxes racked out of square during installation, hinges that need adjustment after settling, and wood movement from humidity. Most hinge alignment issues are simple adjustments, but a cabinet that is pulling away from the wall points to an installation problem.
For most households they are. Soft-close hinges and drawer slides prevent slamming, reduce wear on the cabinet box and keep fingers safer around small children. Many cabinet lines now include them as standard. If yours do not, ask the installer whether they can be added during installation rather than retrofitted later.
Stone countertops are typically templated, fabricated and installed by a specialty fabricator after the base cabinets are set. A full-service contractor coordinates that timing for you so the template happens as soon as the bases are secure. Laminate and some solid-surface tops may follow a different process depending on the product.
Clear the kitchen and nearby paths, set aside a room or garage space for staging cabinet boxes, and make sure the crew has access to power and water. Plan meals elsewhere while the kitchen is out of service. Keep children and pets away from the work area for safety.
Scribing is the process of tracing the contour of an uneven wall, floor or ceiling onto a filler strip or panel, then trimming that piece to match it exactly. The result is a tight fit with no visible gap. It is a mark of careful craftsmanship, especially in homes where walls are not perfectly flat.
Sometimes, but it is risky. Stone tops can crack during removal, and new cabinets rarely match the old footprint exactly. Laminate tops are usually not worth salvaging. If reuse matters to you, discuss it before ordering so the new cabinet dimensions match the existing counter, and understand the contractor cannot guarantee the top survives removal.
There are usually two layers: the manufacturer warranty on the cabinet products and the contractor's workmanship warranty on the installation itself. Ask for both in writing, and clarify what each covers, such as finish defects versus loose cabinets or misaligned doors, and how long each lasts.