




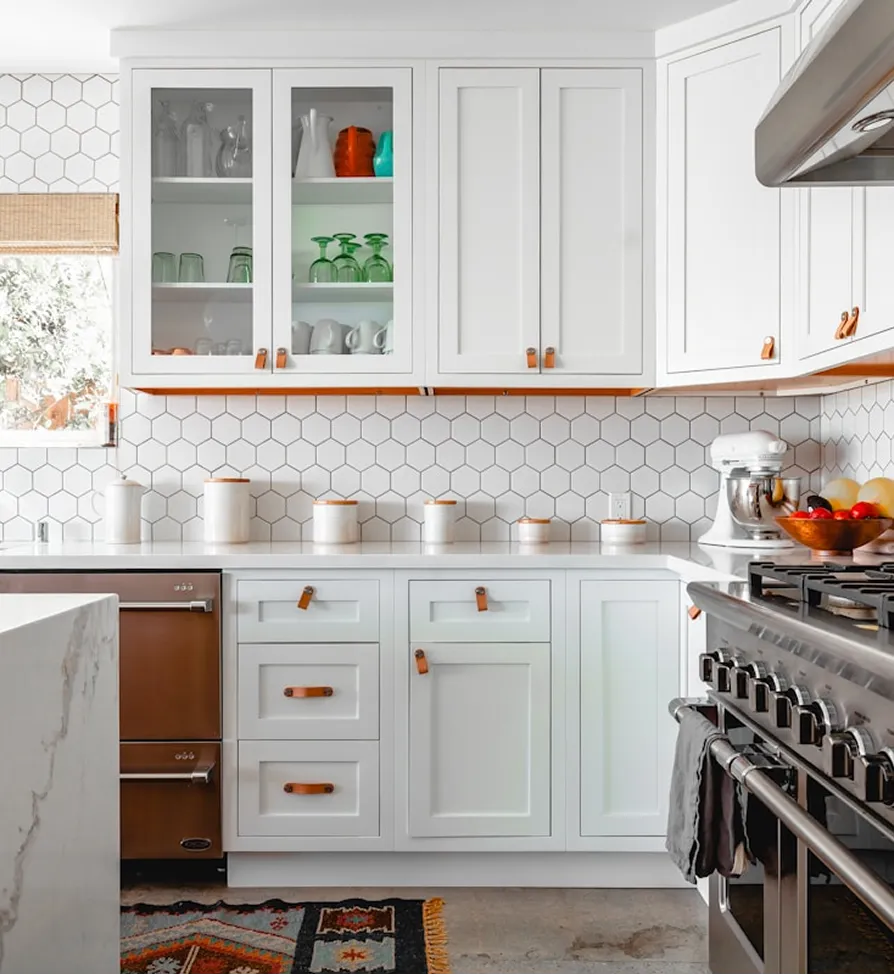
Ordering custom kitchen cabinets Tampa FL homeowners will use for decades is less like shopping and more like commissioning furniture for a specific room. The process moves through measuring, design, drawing approval, fabrication, delivery, installation and a final round of adjustments. Each step depends on the one before it, and most delays or disappointments trace back to a step that was rushed. Below is what happens at each stage, what you should be asked to decide, and what to watch for.
Step 1: A Detailed Site Measure
Everything starts with accurate dimensions. A good measure records every wall length at several heights, ceiling height in multiple spots, window and door openings with their trim, the centerlines of the sink drain and water supplies, gas and electrical locations, vents, and any soffits or bulkheads. The person measuring should also check whether walls are plumb and corners are square, because the shop will build to these numbers and the installer will have to absorb any error.
If you are planning to remove a soffit, move a window or relocate an appliance, the measure should happen after those decisions are made, and ideally be confirmed again after demolition and framing.
Step 2: Layout and Workflow
With a measured plan, the designer arranges cabinets around how you cook and store things. That means deciding where the sink, range and refrigerator go, how much uninterrupted prep counter you need between them, where the trash pull-out belongs (usually near the sink), and whether an island makes sense in the space. For layout patterns that work in different room shapes, see our collection of kitchen layout ideas.
Think vertically too. Tall pantry cabinets, stacked uppers and deep base drawers can add more usable storage than extra wall length, and placing heavy pots in drawers at hip height saves a lot of bending over time.
Ready to start your project?
Get a free, no-pressure consultation and an honest written quote from a licensed Florida team.
Step 3: Choosing Construction Details
This is where custom cabinetry earns its name. You will be asked to choose:
- Frame style: face-frame cabinets with a solid wood frame on the front, or frameless (European style) boxes with full access to the interior.
- Door style and overlay: slab, shaker, raised panel or beaded, in partial overlay, full overlay or inset.
- Wood and finish: paint-grade or stain-grade species, sheen level and any glaze or texture.
- Hardware: concealed soft-close hinges, full-extension soft-close drawer slides, and pulls or knobs.
- Interior organization: roll-out trays, drawer dividers, tray dividers over the oven, blind corner pull-outs and appliance garages.
Take your time. Changing a door style after the order goes to the shop is expensive, while changing it on paper costs nothing.
Step 4: Approving Shop Drawings for Custom Kitchen Cabinets Tampa FL Projects
Before anything is built, you should receive elevations (straight-on views of each wall) and a floor plan with every cabinet labeled by size. Review them slowly. Check that the dishwasher is beside the sink, the trash pull-out is where you want it, filler strips leave room for drawers to clear handles on adjacent appliances, upper cabinets clear the range hood, and the refrigerator enclosure matches the model you bought. Ask how panels, crown molding and light rail will be detailed. Signing the drawings locks in the order, so this is the final checkpoint.
Step 5: Fabrication and Lead Time
Once drawings are approved, the shop cuts, assembles and finishes your cabinets. Lead time varies with the shop's schedule, the finish and the complexity of the order. While you wait, the contractor can complete demolition, rough plumbing and electrical, inspections, drywall and paint, so the room is ready the day cabinets arrive. Coordinating the start of demolition with the delivery date keeps the kitchen out of service for the shortest possible time.
Use the waiting period to finalize everything that touches the cabinets: the sink model and bowl size, the faucet and any filtered water tap, under-cabinet lighting, outlet locations on the backsplash, and the hood or microwave model. Each of these affects either a cut-out, a cabinet interior or the electrical rough-in. Settling them now means the installer, electrician and countertop fabricator all arrive with the same information, and nobody has to drill a new hole in a finished panel.
Step 6: Delivery and Inspection
Cabinets should be checked on arrival against the packing list and drawings. Look for damaged corners, scratches in the finish, and doors or drawer fronts that do not match. In humid weather, cabinets should be stored inside the conditioned house, never in a hot garage, and given a short time to acclimate before installation. Any damage reported promptly is far easier to resolve than a problem discovered after countertops are on.
Step 7: Installation, Leveling and Scribing
Installation follows a consistent order. The installer finds the high point of the floor and sets level reference lines, then hangs the upper cabinets or sets the base run first, depending on the layout. Bases are shimmed to level, fastened to studs and clamped and screwed together through their frames or sides so the faces line up perfectly. Fillers and end panels are scribed to follow walls that are not straight. Crown molding, light rail and toe kicks finish the look.
Once bases are secured, the countertop fabricator templates the tops. Natural stone and quartz need fully supported, level cabinets to avoid cracks. Our comparison of quartz, granite and marble countertops covers what each material needs from the cabinets beneath it.
Step 8: Final Adjustments and Punch List
After countertops, backsplash and plumbing are complete, the installer returns to adjust hinges so door gaps are even, align drawer fronts, install pulls and touch up any small marks. Walk the kitchen with your contractor, open every door and drawer, and note anything that sticks, rubs or looks uneven. Concealed hinges can be adjusted in three directions, so most items are quick fixes. Keep the leftover touch-up kit and any spare hardware for future use.
A Word on Islands
Islands are often the most detailed part of a custom order: finished back panels, seating overhangs, outlets in the cabinet sides, and sometimes a sink or cooktop that needs plumbing or venting through the floor. Make sure walkway clearances around the island are comfortable, especially between the island and the range or dishwasher when doors are open. If you are unsure whether one is worth it, our article on whether kitchen islands add value weighs the pros and cons.
Shop drawing approval is the point of no return. Review every elevation with your appliance specs in hand before you sign.
Assured Supreme Contracting is a licensed and insured Florida contractor that measures, designs, orders and installs cabinetry with one accountable team and backs the work with a workmanship warranty. If you are planning custom kitchen cabinets Tampa FL wide and want a clear process from first measure to final adjustment, book a free consultation and we will walk you through it.
Frequently Asked Questions
Face-frame cabinets have a solid wood frame attached to the front of the box, which adds rigidity and gives a traditional look. Frameless cabinets omit the frame, so doors attach directly to the box sides and you get slightly wider openings and easier access to the interior. Both can be high quality; the choice is mostly about style and storage access.
Removing old cabinets, soffits or drywall often reveals that walls are not where the original measurements assumed, or that framing and plumbing need to shift. A second measure after demolition and rough-in confirms the room's true dimensions so the cabinets fit without large fillers or awkward gaps. It is a small step that prevents expensive remakes.
Most cooks prefer the trash and recycling pull-out right next to the sink or between the sink and the main prep area, so scraps can be swept straight in while cleaning or chopping. Avoid placing it where an open dishwasher door would block access. A double bin lets you separate trash and recycling in one cabinet.
Keep the air conditioning running throughout construction and after, especially once cabinets are delivered. Store boxes inside the house rather than in a garage. Wipe up spills promptly, run the range hood while cooking, and check the sink base periodically for drips. A water sensor under the sink and dishwasher gives early warning of leaks.
Confirm every cabinet width, the location of the sink, dishwasher, range and refrigerator, the hood clearance, the direction each door opens, and the placement of drawers versus doors. Make sure fillers give handles and appliance doors enough clearance. Compare the drawings to your appliance specification sheets and ask about anything you do not understand before signing.
It depends on the flooring. Tile is commonly installed before cabinets in many kitchens, while some floating floors should go in after cabinets so the floor can expand and contract freely. Your contractor should plan the sequence based on the floor type and make sure the cabinets end up at the correct height for countertops and appliances.
Uppers are screwed through their back rails into wall studs, often after resting on a temporary ledger board that holds them level during installation. Adjacent boxes are fastened to each other so the faces align. Proper attachment to framing, rather than drywall anchors, is essential because loaded upper cabinets carry significant weight.
Light rail is a trim piece installed along the bottom edge of upper cabinets. It hides under-cabinet lighting fixtures from view when you are seated or standing at a distance, and it gives the cabinets a finished edge. It is usually made from the same wood and finish as the cabinets so it blends in.
Yes, the old cabinets and counters will already be removed during demolition, so everything inside them must be packed beforehand. Clear nearby rooms of fragile items, since work creates vibration and dust. Setting up a temporary kitchen elsewhere in the house makes the remodel far more comfortable until the new cabinets and counters are ready.
Fabricators template once the base cabinets are installed, level and secured. Fabrication then takes time before the tops are installed. Stone and quartz fabricators usually need the sink, faucet and cooktop specifications at template time. Having those items on site or confirmed in advance prevents a second template visit and keeps the schedule moving.
As the home goes through seasonal humidity changes, doors may shift slightly out of alignment or a drawer front may need a minor tweak. Concealed hinges and many drawer slides have adjustment screws for exactly this purpose. These adjustments take minutes and are often covered under a workmanship warranty if you report them.
Frameless construction is most associated with modern, flat-panel kitchens, but it can be paired with shaker or other traditional door styles. The look is slightly different because there is no visible frame between doors. If you want the classic appearance of rails and stiles framing every opening, face-frame construction is usually the better fit.